Test Your Game Assets in a Clean Project Before You Sell
Here's a refund story I've lived more than once. You finish a pack, you're proud of it, you zip it up and ship it. Two days later a one-star review lands: "everything is pink." You open your own project, everything looks perfect, and you spend an hour wondering if the buyer is just clueless. They're not. Your pack only works on your machine, in your project, with the packages you forgot you installed in 2022.
That's the mistake. Not bad art, not bad pricing. Shipping an asset you've never tested outside your own sandbox. And the fix is boring enough that most sellers skip it: before every upload, import the exact file you're about to sell into a brand new, empty project and see what breaks.
Why your project lies to you
Your working project is full of hidden helpers. A render pipeline you set up once and forgot. A shader package. A tiny editor script from some free tool that your prefabs quietly depend on. A texture import preset that fixes your normal maps without you noticing. None of that travels with your asset. The buyer gets the zip, nothing else.
If it only works in your project, it doesn't work. Buyers don't have your project.
The usual failures are painfully predictable. Pink materials because the shaders target URP and the buyer is on Built-in (or the other way round). Missing script references because a file lived outside the exported folder. Prefabs pointing at textures that never got included. Normal maps imported as plain color because the import settings didn't ship. Weird scale because your model import was tweaked per-project. Each one looks like a broken product to the person who paid for it, and each one turns into a support message or a refund.
The clean project test, step by step
It takes about ten minutes once you've done it a couple times. Here's what I actually do.
- Export your package exactly as the buyer will receive it. Not a copy of the folder. The real artifact you're uploading.
- Create a fresh project on the oldest Unity version you claim to support, with the default template. Then do the same for the newest version you say you support.
- Import the package through the Package Manager or the import dialog, the way a normal person would. Watch the console while it imports. Red text on import is a bug in your listing, full stop.
- Open every demo scene and every prefab you advertise. Drag a couple into an empty scene and hit play. Check materials, colliders, animations.
- Repeat for each render pipeline you list. If you say "URP and Built-in," test both. If you only built for one, say so loudly on the store page and move on.
That's it. No tooling, no CI, nothing clever. You're just playing the buyer for a few minutes.
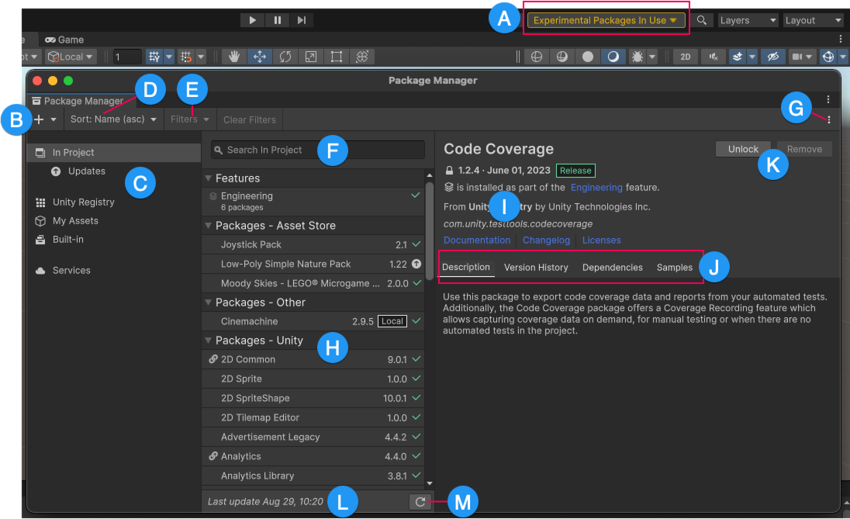
Credit: Unity Manual, Package Manager window.
What to do with what you find
Fix the pink first, because it's the most common and the most embarrassing. Ship a render pipeline conversion note, or better, separate sub-packages per pipeline so nobody has to guess. If your asset needs a dependency, declare it or bundle it, and write it in the first lines of your description. Pin down the supported versions honestly. "Tested on 2022.3 and Unity 6" beats "works on all versions" every single time, because the second one is a lie and buyers can smell it.
Then keep a tiny checklist and reuse it for every update. Updates break things too. I've broken a perfectly fine pack with a "tiny" shader tweak. The checklist is also great fodder for your changelog, and if you want to go deeper there, read how to version and changelog your game assets. And when something still slips through, which it will, customer support for game asset sellers covers how to handle it without losing your weekend.
Why this is really a money move
Every broken first impression costs more than the refund. It costs the review you didn't get, the repeat customer you never earned, and the "does this work?" question that scares off the next ten people browsing your page. A clean-project test is the cheapest conversion work you'll ever do. Compare that to hours spent on thumbnails (which also matter, see game asset thumbnails that sell) while the product itself is shaky.
Where to sell once it actually works
If you've got a pack that survives the clean-project test, it deserves a home where you keep most of the money. On DevLoot the Pro plan takes 8% and the Free plan 12%, so you keep up to 92% of every sale. Payouts go straight to you through Stripe Direct Charges, so there's no waiting around for a monthly cycle while someone else holds your cash. You get a custom storefront that looks like your brand rather than a row in someone's catalog, and verified badges that tell buyers you're a real creator, not a reupload farm.
Honestly the setup is quick. If you already have a tested pack sitting on your drive, you can list it today. Start at the vendor dashboard, or read the get started guide first if you want the lay of the land. If you're brand new to this, the broader walkthrough in how to sell 3D models and game assets is a good companion, and the marketplace fee comparison shows exactly what each cut means for your take-home.
Test in a clean project, fix what's pink, then upload. Do that and your reviews will do half your marketing for you.