
Object Placement in Unity: Let Players Build With No Code
You have seen the loop a hundred times. A player picks up a chair, a ghost version follows their cursor, it glows red when it overlaps the wall and green when the floor is clear, they click, and the chair drops into place. Base building games, farm sims, shop decorators, tycoon titles, survival crafters: they all lean on it. It looks simple. It is not.
The moment you try to build that placement loop yourself in Unity, the iceberg shows up under the waterline. You need raycasts that respect different surfaces. You need a ghost preview that recolors based on whether the spot is valid. You need overlap detection so objects do not clip through furniture. You need wall objects to rotate and snap to vertical surfaces while floor objects stay flat. You need grid snapping for some items and free placement for others. Then someone asks for stacking, and you realize your whole bounds-checking system has to change.
Why a placement system eats so much time
Most developers underestimate object placement because the happy path is so quick to prototype. A single raycast and an instantiate call gets you a chair on the floor in twenty minutes. The trouble is everything after that first chair.
Real placement has to answer a long list of questions on every frame. Is this surface allowed to hold this item? Is the player too far away? Is the slope too steep? Does this object collide with something already placed? Should it parent to the floor it landed on, so that disabling a room hides everything inside it? When the player rotates a shelf, do the pots already sitting on it move too? Each of those questions is a small system, and they all have to agree with each other in real time.
This is the same trap that hits people building levels by hand before they discover modular environment kits. The work that looks like a weekend turns into a month of edge cases, and most of that month is spent on plumbing nobody will ever notice when it works correctly.
The first placed object takes twenty minutes. The next two hundred edge cases take two months.
And placement plumbing is rarely the fun part of your game. Nobody buys your title because the overlap math is elegant. They buy it because building a cozy room feels good. Every week you spend wiring raycasts is a week you are not spending on the loop that actually sells.
A drop-in placement layer for Game Creator 2
This is the gap that Place It, the object placement module for Game Creator 2, was built to close. Instead of writing the placement engine from scratch, you describe each object once and let the module handle the hard real-time work underneath.
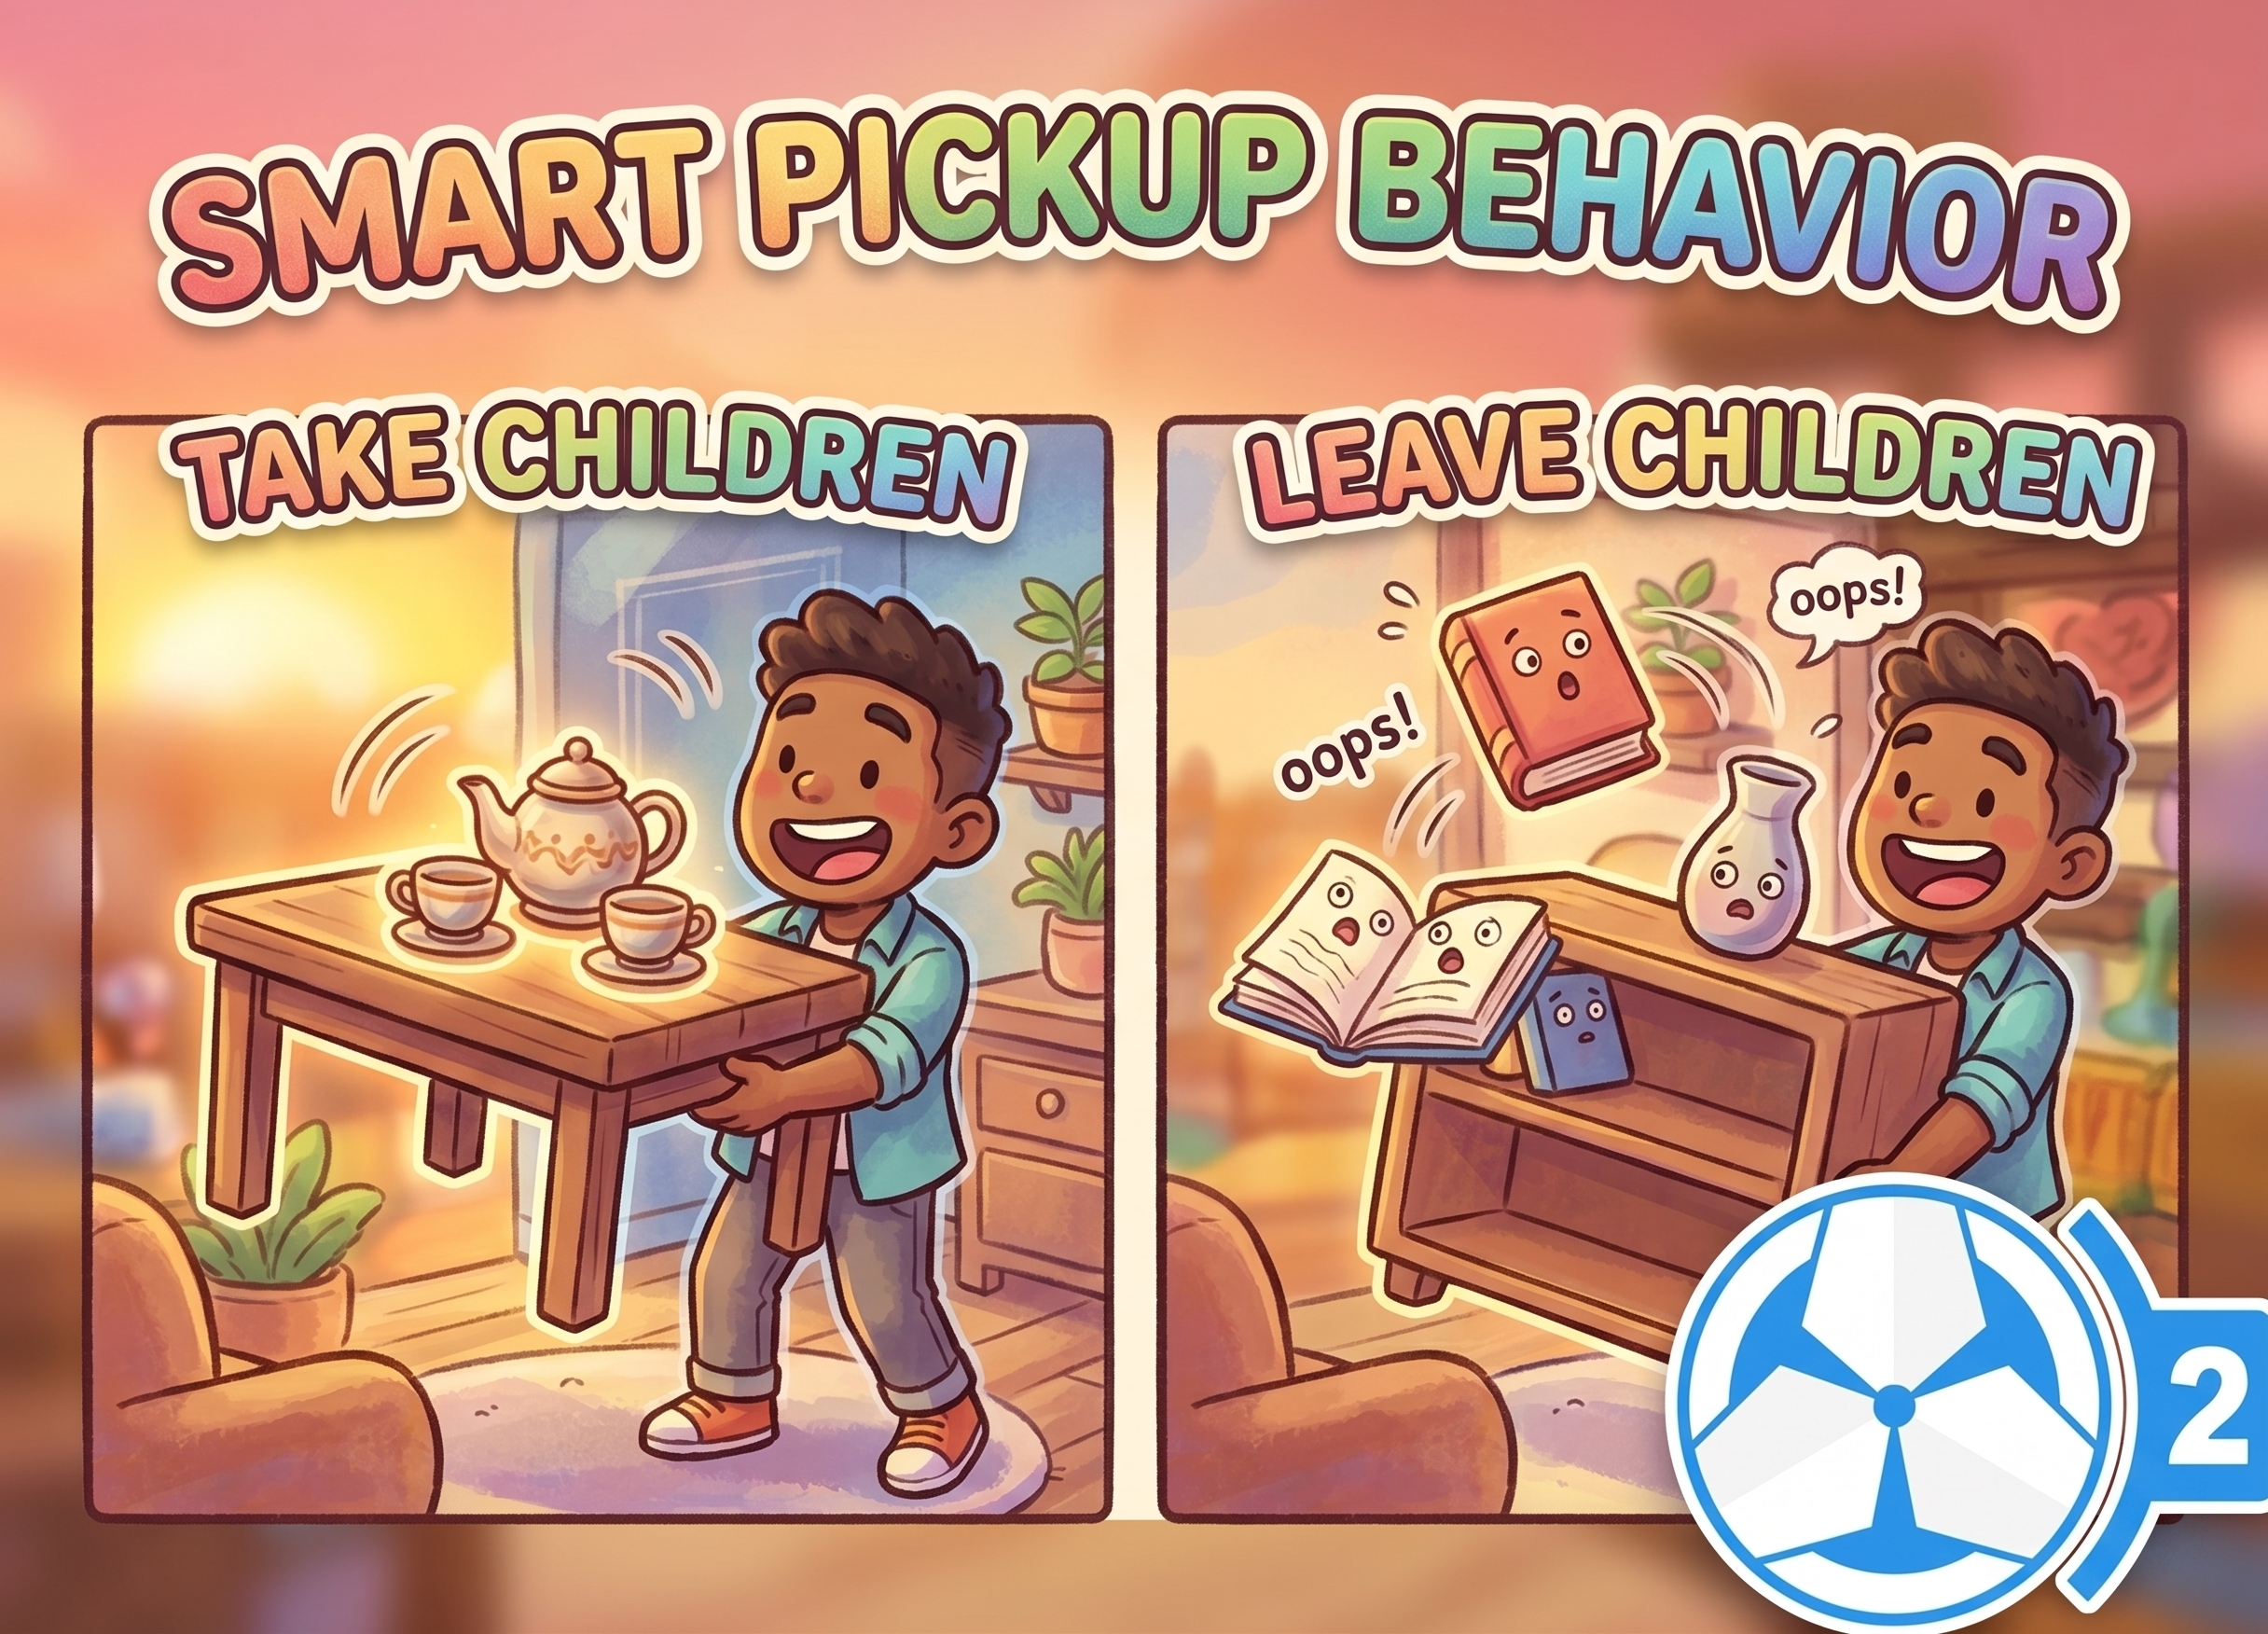
Every placeable thing in your world lives on a single PlaceableItem component. In one inspector you set its identity, its prefab, its ghost preview, its placement rules, its pivot offset, and its event callbacks. There are no scattered scripts to keep in sync and no manual wiring between five different managers. One component, and the object knows how to be placed.
Underneath that, the module quietly does the parts that usually cost you those lost weeks:
- Ghost preview so players see exactly where an object will land before they commit, with valid and invalid coloring built in.
- Layer-aware validation so floors, walls, and shelves each accept only the items you allow.
- Physics-based blocking that stops objects from clipping through furniture, walls, or each other.
- Context-aware wall placement that snaps and orients items to vertical surfaces and checks collisions against existing wall pieces.
- Stacking support you can allow or deny with a single toggle.
Rules you can tune per object
Not every item should behave the same way, and the module does not force them to. Each object gets its own grid snapping with a configurable cell size, its own maximum slope angle for terrain, its own overlap bounds with a visual editor, and an optional precision mode for pixel-perfect positioning. A heavy crate can demand flat ground while a vine is happy on a slope, and you set that per item without touching code.
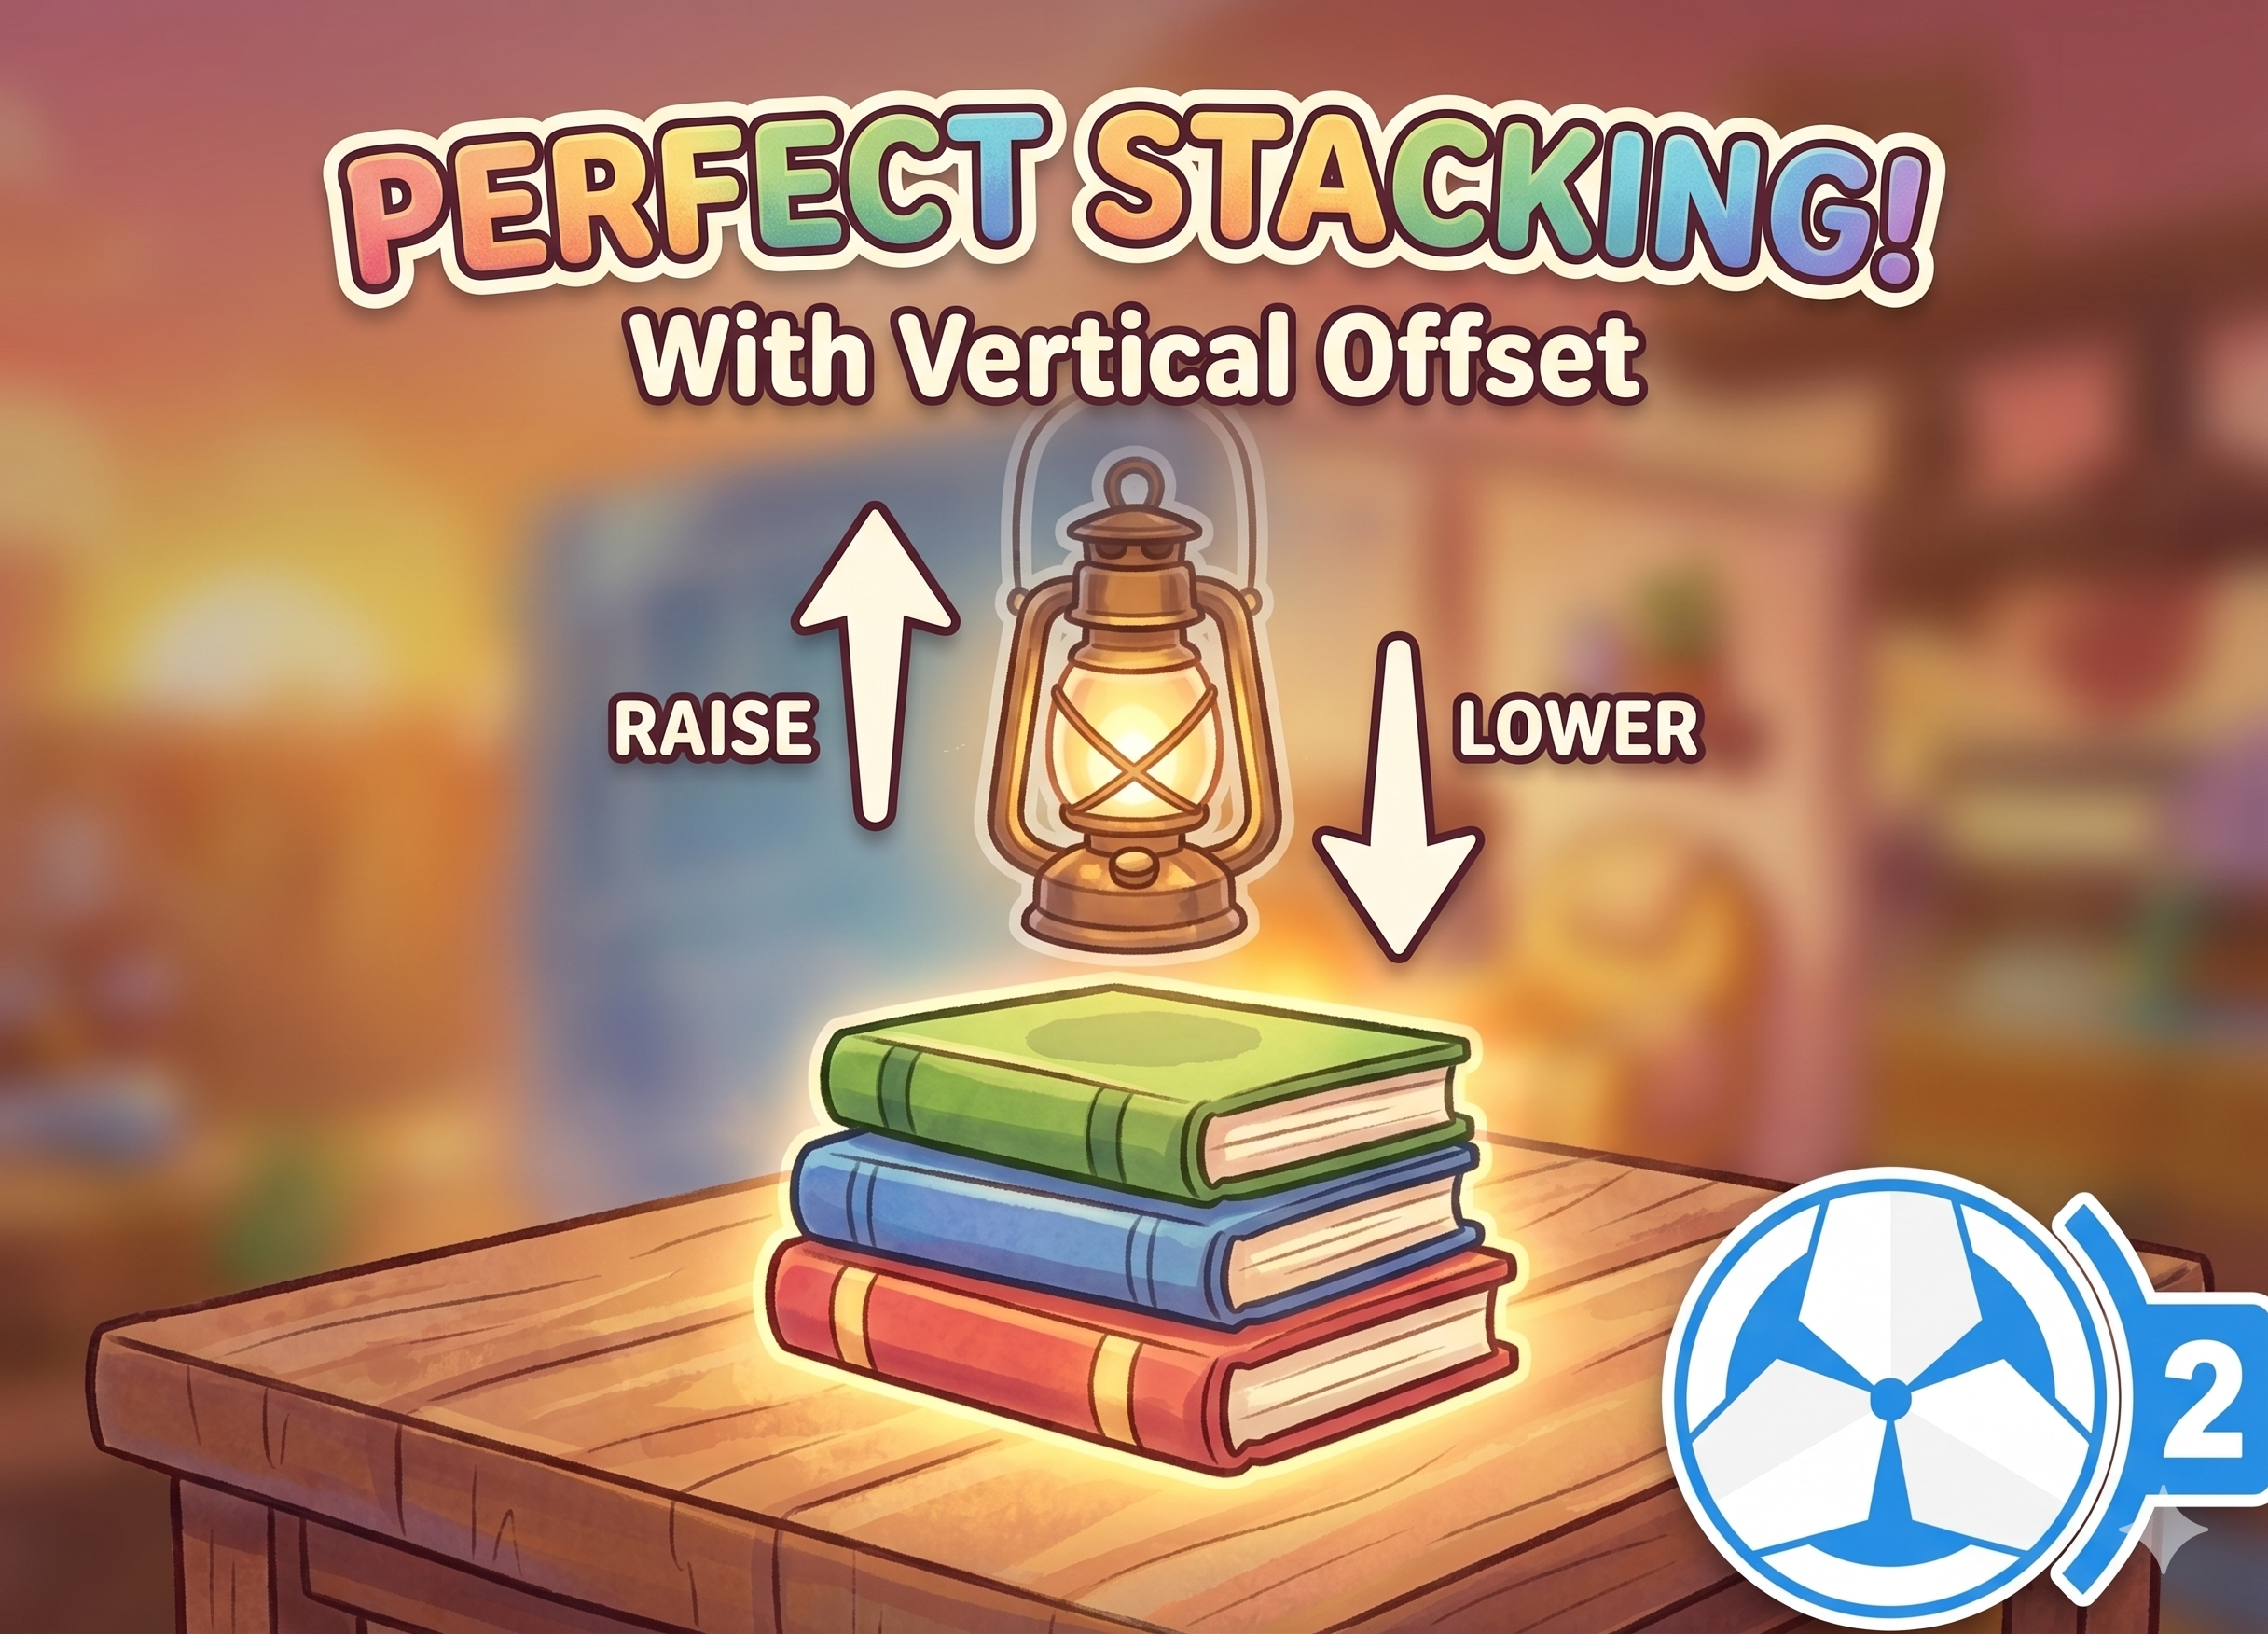
There is also a built-in pivot editor with a live 3D preview, so you stop guessing offset values and just drag the pivot where it belongs. Small thing, but anyone who has fought a lamp that floats six inches above the table will appreciate it.
Contextual parenting that keeps your world honest
One of the quietly useful features is contextual parenting. Placed objects automatically become children of the surface they land on. Disable a room and everything inside it disappears with it. Move a platform and the furniture rides along. Your scene stays consistent without you writing bookkeeping code to track what belongs to what.
Who this is actually for
If you are building anything where the player arranges objects in space, this is squarely aimed at you. Cozy decorators, farm and life sims, shop and tavern builders, survival base building, tycoon and management games, even level editors you want to ship to players. The common thread is a build mode, and a build mode is exactly the thing that looks cheap and turns out expensive.
The one hard requirement is Game Creator 2. The module is built natively for GC2's visual scripting pipeline, so placement actions, conditions, triggers, and property references all live inside the node graph you already use. You can place items straight from GC2 Bags with automatic consumption and return, and hook into events like On Placed, On Removed, On Interact, On Rotate, and On Moved to drive UI, award progress, or fire off any other action chain. If you are already working in GC2, it slots into your existing project rather than asking you to learn a new way of thinking.
It also ships with a full placement UI you can use as-is or reskin. One menu click generates the canvas, category tabs auto-build from your item categories, and the slots can be swapped to match any art style. So you get a working build mode on screen the same day, not after another week of UI work.
The honest tradeoff
No tool is free of strings, so here is the fair version. You are committing to the Game Creator 2 ecosystem, which is a real dependency to weigh. And the one-time purchase includes support and updates for thirty days, after which ongoing updates move to the creator's Investor Tier. For a finished, working placement system that is a reasonable arrangement, but it is worth knowing going in rather than being surprised later.
Set against that, the math is straightforward. Building a placement system with ghost previews, surface validation, stacking, and parenting yourself is genuinely weeks of focused work, and that is before you spend more weeks fixing the bugs players find. If your time is worth anything per hour, a drop-in module that does it today pays for itself almost immediately. The same logic applies to keeping your build mode smooth once a player drops two hundred objects in a scene, which is its own optimization problem worth reading up on in our guide to Unity game performance.
Spend your weeks on the game, not the plumbing
Object placement is one of those features that is invisible when it works and infuriating when it does not. It is also rarely the reason anyone is making their game. If your project needs players to place, move, rotate, and stack objects, and you are working in Game Creator 2, it is worth letting a purpose-built layer carry that weight so your weeks go into the parts players actually came for.
Take a look at Place It, the no-code object placement module for Game Creator 2, and see whether it saves you the month you were about to spend.